When it’s tough to grab some particular area through clipping path we need the photo masking operation.
Today’s tutorial is on Photoshop Alpha channel masking. Basically, this is a photo editing or image manipulation technique which is used to replace/change the background of n image or to give soft edge in hair, fur photo.
1. Run Adobe Photoshop on your PC/Mac.
4. After launching of Photoshop, click “File”, then “open”.
3. An window will be seen from your computer. Select the image you want to work on and then open it on Photoshop.

Figure: 1
4. From “Layer” panel, take a duplicate layer ( layer1) of background layer ( already existed) by pressing Ctrl+ J or cmd+j for mac.
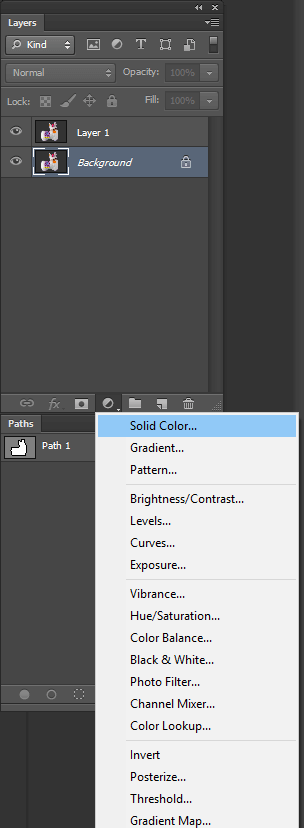
Figure: 2
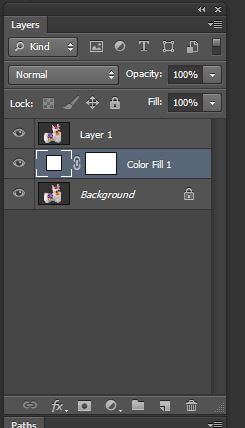
Figure: 3
5. Take a new solid color(Figure: 2) and drag it- “Color Fill 1″between the previous two layers ( layer 1 and the background layer) in Figure 3.
6. Now from layer 1, we will go to “channel”.
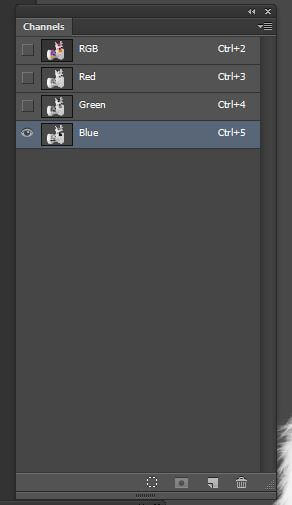
Figure: 4
7. In channel(Figure: 4), you will find 4 colors. Select “blue”. The 3 others colors will be automatically locked.
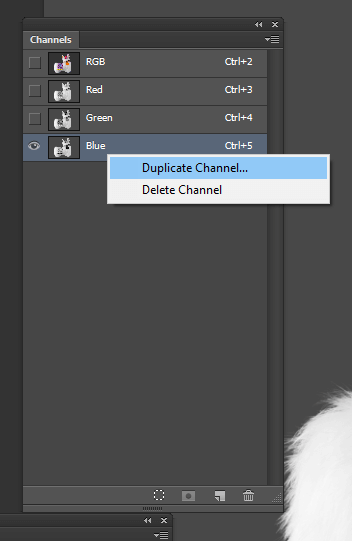
Figure: 5
8. On blue channel, click right button, choose “duplicate channel”.
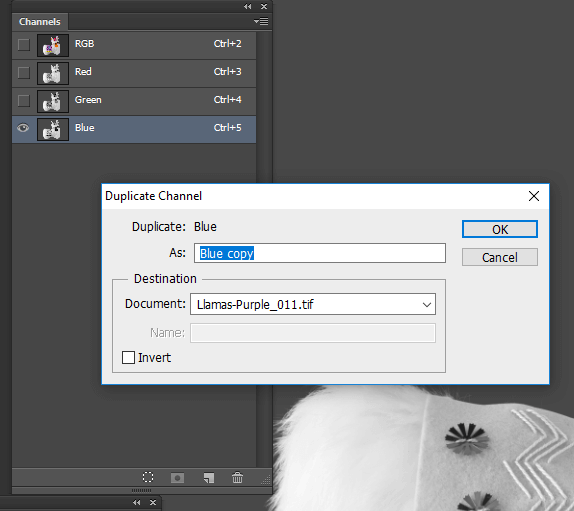
Figure: 6
9. Unlock the eye icon of “blue copy” channel and lock the eye icon of “blue” channel(Figure: 6). The new/extra layer “blue copy” is called alpha channel.
10. Now we want to change the background of the fur area of our toy cat without changing the middle body. For this we will have to fill up the face/body with black color.
11. For doing that, we are using pen tool to select the body. Press Ctrl+ Enter or CMD+Enter to select the path-area.
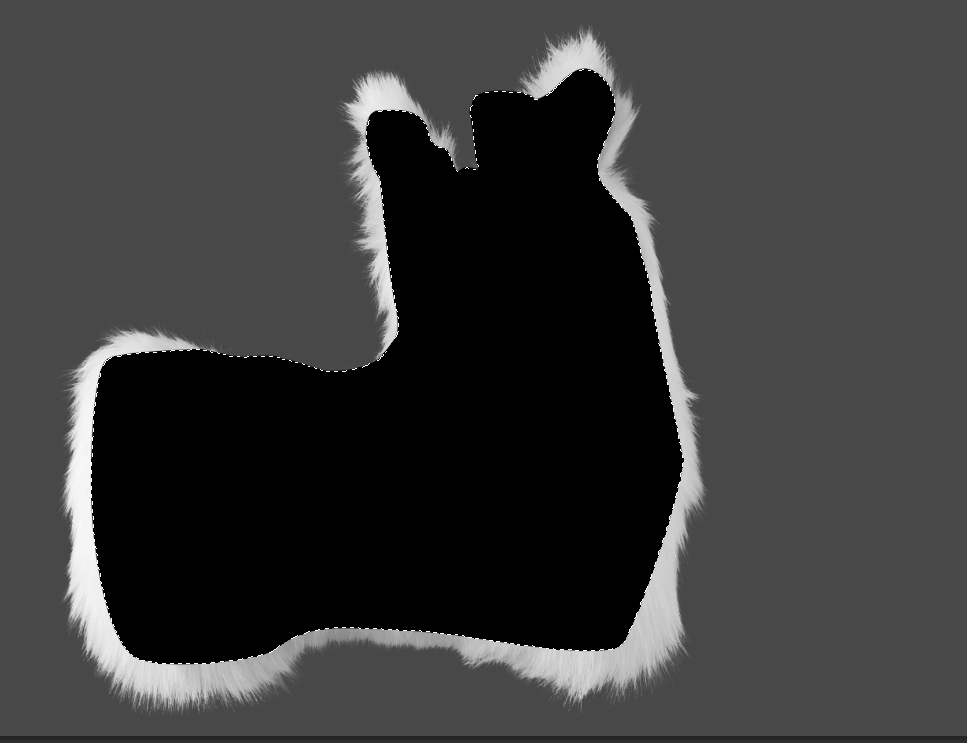
Figure: 7
12. Press Ctrl+ Delete / CMD+Delete to color ( black) the selected area(Figure: 7).
13. Now we want to change the hair color into black. For this, at first we will flip the selection previously done by pressing Ctrl+ Shift+ I or CMD+Shift+i.
14. From menu bar go to image>adjustments>level. “Levels” window will be appeared.
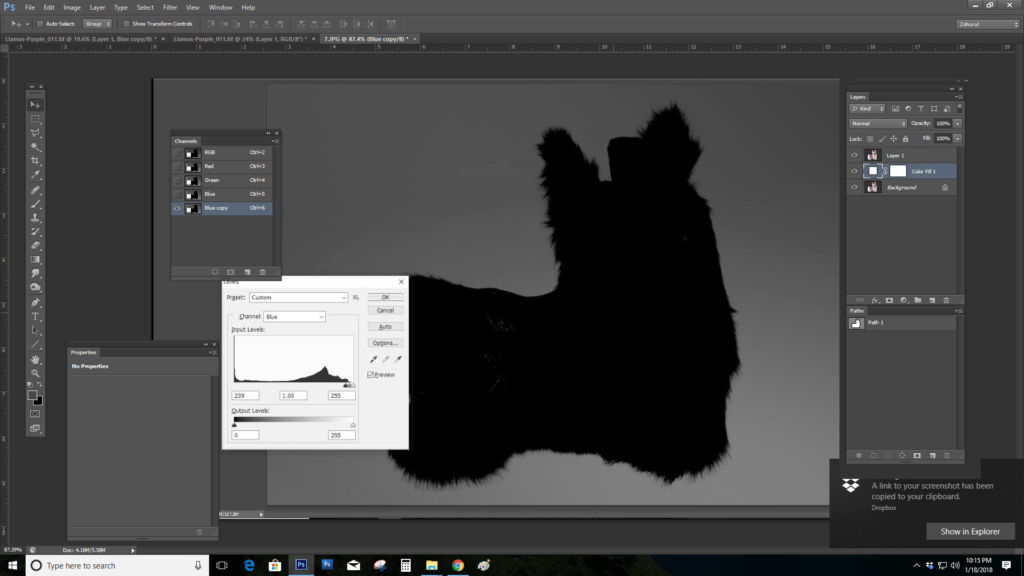
Figure: 8
15. Drag the ball of “input level” and adjust the black color of body and fur area(Figure: 8).
16. Press Ctrl+ D to deselect the body.
17. Go to Image>Adjustments>Invert. The edge of hair will be visible clearly.
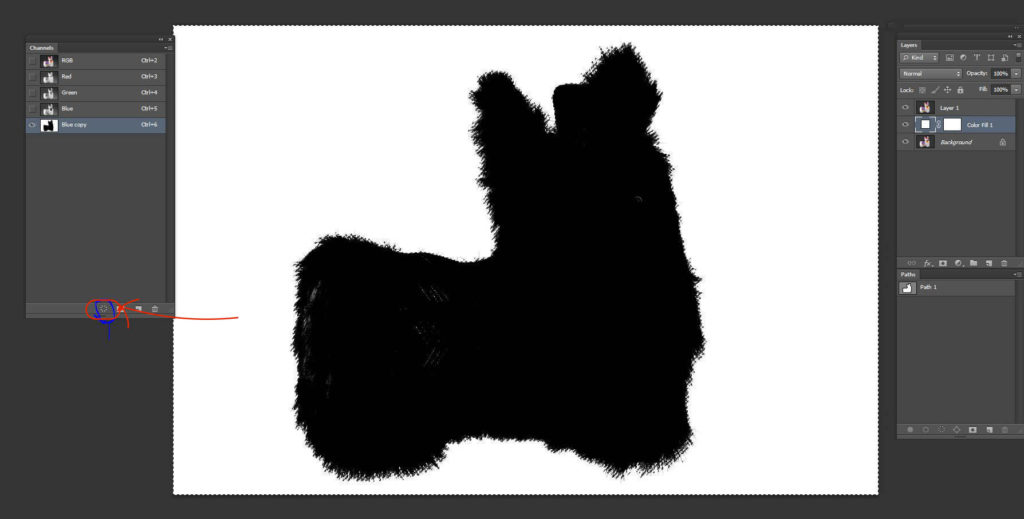
Figure: 9
18. Click the option “load channel as selection” from bottom right corner of Photoshop to select the fur edge automatically(Figure: 9).
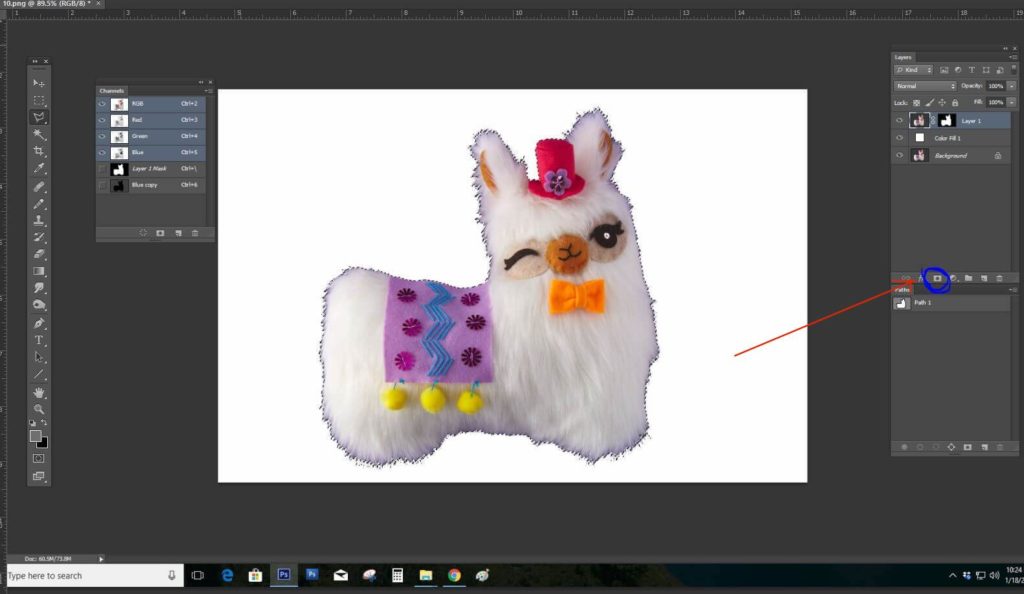
Figure: 10
19. Now back to “layer” panel. Select “Layer mask”. The background is changed(Figure: 10).
20. In fur area, some discoloring may occur. To retain the original color, we will use brush tool.
21. Save the photo. You are done.
Hope this tutorial will help you to know more about alpha channel masking. This photo editing technique is widely used in different industries such as e-commerce, garments, fashion and other industries.
